Five Common Mistakes When Photographing Receipts in ReceiptBook
Receipt capture works best when the original is clear, complete and easy to review. ReceiptBook can help read fields and organise records, but OCR is not a reason to discard the original or accept every extracted number without checking it. A few habits before import can prevent many corrections later.
1. Glare, shadows and dark images
Glossy paper, direct flash and a strong window reflection can hide the vendor name, tax lines or total. Move the light to the side, use an even surface and hold the phone at an angle that avoids reflection. Avoid filters that make the image look attractive but erase small characters. If the total or date is hard to read, take another image before importing.
2. Cropping the edges or last page
An image that cuts off the total, signature, warnings or page count is not a complete record. Place the entire receipt inside the frame and check every page of a multi-page invoice. Capture pages separately when needed, then add a note that they belong to the same document. Do not assume the first page contains the final amount.
3. Blur and a tilted camera
Motion blur can turn a decimal point into a different number. Put the document on a flat surface, keep the phone parallel to it and tap to focus before pressing the shutter. Retake the image if vendor, date, line items, tax or total cannot be read at normal size.
4. Several receipts in one photo
Multiple documents in one frame make it difficult to identify which date, vendor and total belong together. Photograph each receipt separately. This also makes later search, export and review more reliable.
5. Deleting the original after import
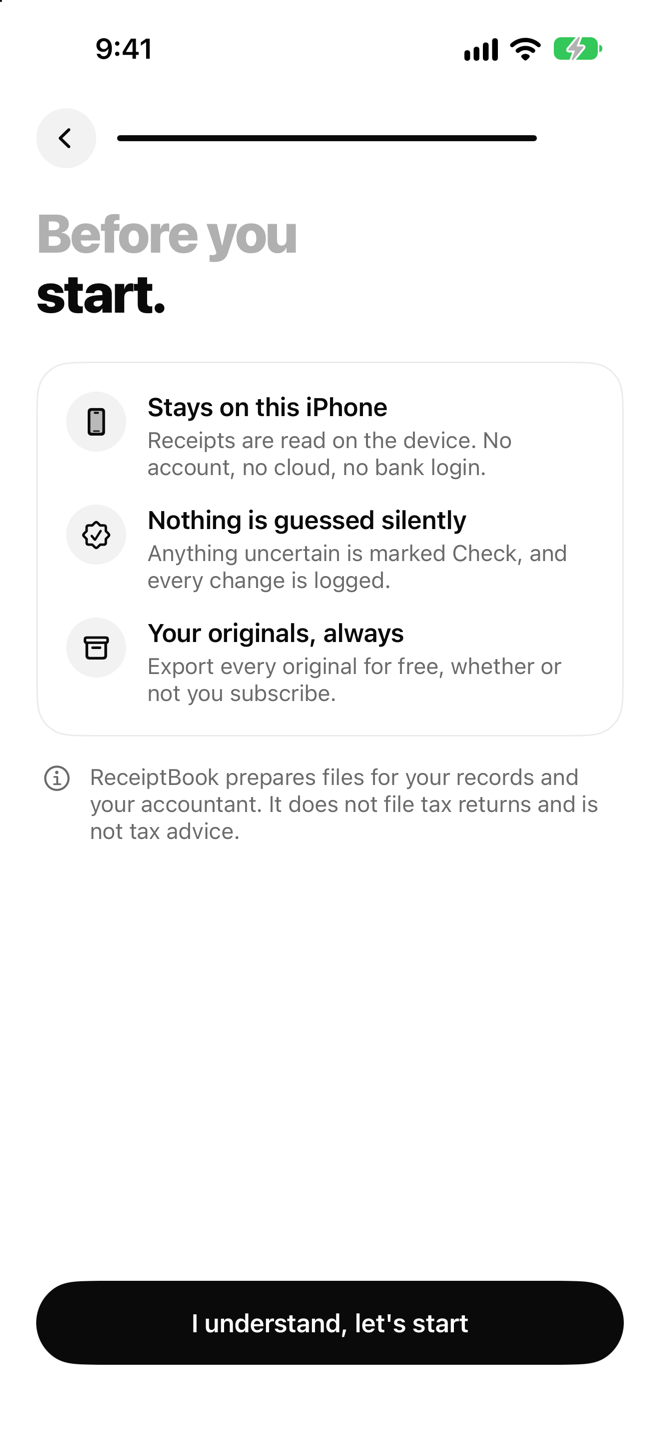
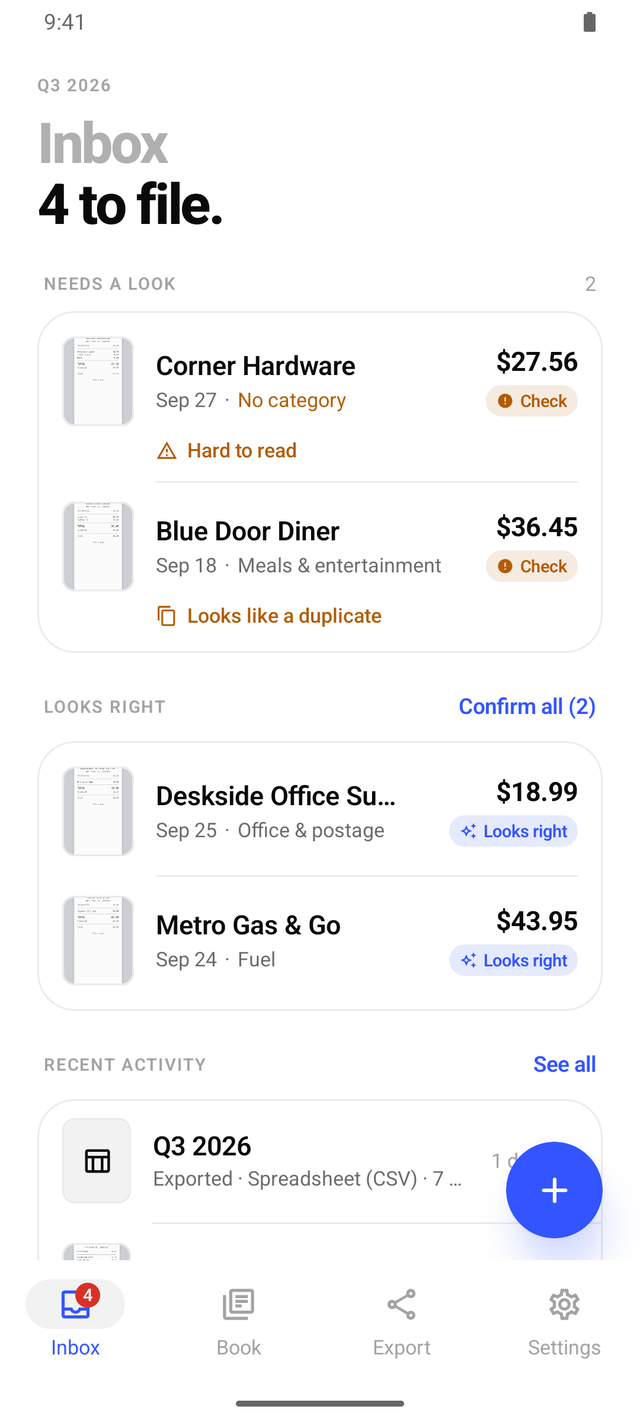
Keep the paper or electronic original and a backup according to your organisation’s accounting and tax requirements. After import, check vendor, date, line items, tax and total. Export a small sample to PDF, CSV or ZIP and open the files before relying on the workflow. Explore ReceiptBook and see the ReceiptBook OCR review checklist.
Note: ReceiptBook supports capture and organisation; it does not guarantee OCR accuracy or determine accounting and tax validity.
A practical workflow for this topic
When you search for “Five Common Mistakes When Photographing Receipts in ReceiptBook”, the useful answer is usually a repeatable way to check the detail that matters. Use this ReceiptBook guide as a starting point, then confirm the current source before acting. The product can organize information and shorten a review; it cannot fill in missing facts or replace a professional decision.
Quick checklist before you act
- Keep the original receipt image available for review.
- Check merchant, date, amount, currency and category after OCR.
- Separate business, personal and tax-sensitive items instead of guessing.
- Export the original and the structured file together when handing records off.
Keep the decision traceable: record the version, date and source you relied on when the detail may change.
Detailed step-by-step workflow
This extended section turns “Five Common Mistakes When Photographing Receipts in ReceiptBook” into a repeatable ReceiptBook workflow. The goal is not to create a longer checklist for its own sake. It is to make the important inputs visible, show what should be checked first, and leave a useful record of what was known at the time. That approach is especially helpful for receipt capture, OCR review, expense categories and structured exports. Read the steps in order the first time, then return to the relevant step when the situation changes.
Step 1: Define the question and the record you need.
Start with this action in ReceiptBook, then pause long enough to verify the result against the original source or observation. For “Five Common Mistakes When Photographing Receipts in ReceiptBook”, record the date, the relevant context and anything that was not available. A structured record is more useful when another person can understand what was checked without guessing what happened between two screenshots, notes or exports.
Step 2: Gather the original inputs before interpreting the result.
Start with this action in ReceiptBook, then pause long enough to verify the result against the original source or observation. For “Five Common Mistakes When Photographing Receipts in ReceiptBook”, record the date, the relevant context and anything that was not available. A structured record is more useful when another person can understand what was checked without guessing what happened between two screenshots, notes or exports.
Step 3: Review the result and record uncertainty or missing data.
Start with this action in ReceiptBook, then pause long enough to verify the result against the original source or observation. For “Five Common Mistakes When Photographing Receipts in ReceiptBook”, record the date, the relevant context and anything that was not available. A structured record is more useful when another person can understand what was checked without guessing what happened between two screenshots, notes or exports.
Step 4: Save the version, date and next action for later comparison.
Start with this action in ReceiptBook, then pause long enough to verify the result against the original source or observation. For “Five Common Mistakes When Photographing Receipts in ReceiptBook”, record the date, the relevant context and anything that was not available. A structured record is more useful when another person can understand what was checked without guessing what happened between two screenshots, notes or exports.
Quality checks and common mistakes
Long-form guidance is most useful when it explains the boundaries as well as the happy path. Before relying on a ReceiptBook record, run the checks below. They help separate a missing input from a negative result, an approximate value from a verified value, and a convenient summary from the original evidence.
Check 1
Do not start with the conclusion. Write down the question, the person or property involved and the time period first. In ReceiptBook, keep the source, context and limitation close to the record so the next review can reproduce the decision.
Check 2
Do not mix old and new records without a date. Keep the original observation visible when you add a correction or update. In ReceiptBook, keep the source, context and limitation close to the record so the next review can reproduce the decision.
Check 3
Do not treat a missing field as proof that the event, ingredient, expense or condition does not exist. In ReceiptBook, keep the source, context and limitation close to the record so the next review can reproduce the decision.
Check 4
Do not share a polished summary before checking the original image, note, label, receipt or export behind it. In ReceiptBook, keep the source, context and limitation close to the record so the next review can reproduce the decision.
Check 5
Do not use an app record as a substitute for a professional, medical, legal, financial or safety decision when the situation requires one. In ReceiptBook, keep the source, context and limitation close to the record so the next review can reproduce the decision.
Frequently asked questions
What should I verify before I rely on this guide?
For “Five Common Mistakes When Photographing Receipts in ReceiptBook”, use ReceiptBook to organize the observation and then verify the part that affects the decision. If a source, image, measurement or input is incomplete, mark it as incomplete instead of silently filling the gap. Add a date and a short note about the method used. When the consequence is important or the question sits outside the product’s purpose, confirm it with the current official source or an appropriate professional.
What should I do when the information is incomplete?
For “Five Common Mistakes When Photographing Receipts in ReceiptBook”, use ReceiptBook to organize the observation and then verify the part that affects the decision. If a source, image, measurement or input is incomplete, mark it as incomplete instead of silently filling the gap. Add a date and a short note about the method used. When the consequence is important or the question sits outside the product’s purpose, confirm it with the current official source or an appropriate professional.
How can I make the record easier to compare later?
For “Five Common Mistakes When Photographing Receipts in ReceiptBook”, use ReceiptBook to organize the observation and then verify the part that affects the decision. If a source, image, measurement or input is incomplete, mark it as incomplete instead of silently filling the gap. Add a date and a short note about the method used. When the consequence is important or the question sits outside the product’s purpose, confirm it with the current official source or an appropriate professional.
When should I ask for another source or a specialist?
For “Five Common Mistakes When Photographing Receipts in ReceiptBook”, use ReceiptBook to organize the observation and then verify the part that affects the decision. If a source, image, measurement or input is incomplete, mark it as incomplete instead of silently filling the gap. Add a date and a short note about the method used. When the consequence is important or the question sits outside the product’s purpose, confirm it with the current official source or an appropriate professional.
A practical review before you finish
Before closing this topic, read the title “Five Common Mistakes When Photographing Receipts in ReceiptBook” as a question rather than a promise. Confirm the current version of the information, check the original evidence, and record the next action in ReceiptBook. A useful record says what was observed, when it was observed, what remains uncertain and who should review it next. This makes the article easier to apply today and easier to revisit when the facts change.
See the product in action